

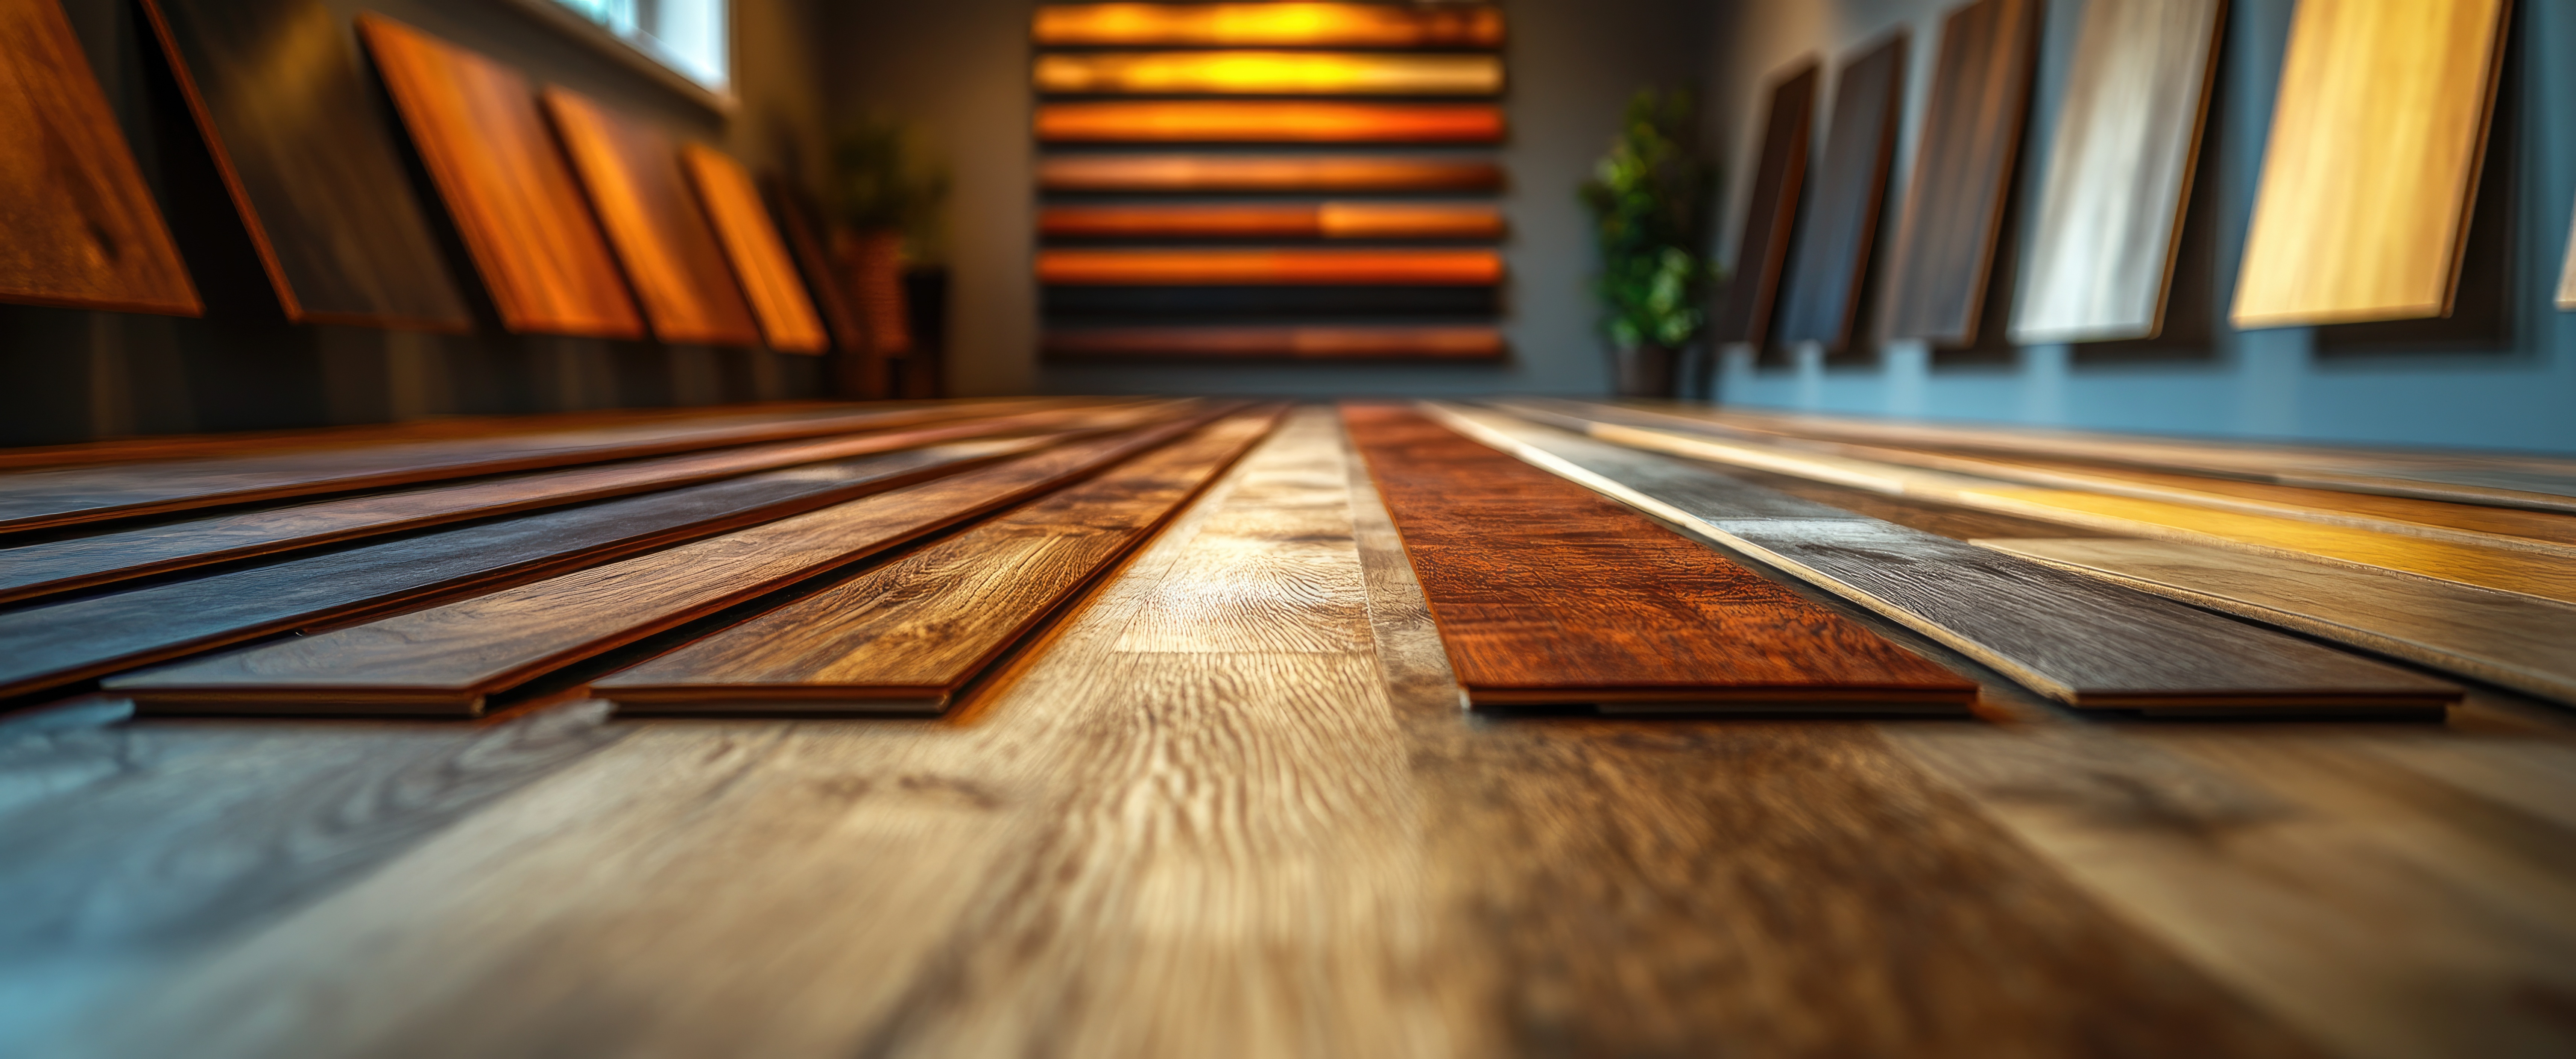
When homeowners walk into one of Ridgefield Industries’s showrooms across Crystal Lake, IL, they’re usually drawn to the surface — color, texture, finish. But what truly defines the quality of a hardwood floor happens long before installation. Custom hardwood flooring is not a product you simply buy; it’s a process. Understanding how a floor moves from raw lumber at the mill to a finished surface in your living room explains why some floors last generations while others fail quietly within years.
Step 1: Species Selection and Log Grading
Everything starts with the log. At the mill level, hardwood flooring quality is dictated by species (white oak, red oak, hickory, maple) and log grade. Higher-grade logs yield longer, cleaner boards with fewer mineral streaks and knots. Lower-grade logs may be structurally sound but create visual noise and inconsistent grain patterns. Custom manufacturers like Ridgefield Industries select logs intentionally based on the final aesthetic and performance goals — not just yield.
Step 2: Sawing Method (Plain, Rift, Quarter)
Once logs are broken down, the sawing method determines grain behavior.
Plain-sawn boards show cathedral grain and greater expansion across width.
Rift-sawn boards offer straight, linear grain with excellent dimensional stability.
Quarter-sawn boards expose medullary rays and resist seasonal movement.
Custom hardwood floors often blend or specify sawing cuts to control visual calm, expansion rates, and long-term performance — especially important in Midwest climates.
Step 3: Controlled Drying and Moisture Targeting
Raw lumber must be dried slowly and evenly. Kiln schedules are critical. Flooring that’s dried too fast develops internal stress; too slow invites fungal staining. For homes in Northern Illinois, target moisture content typically ranges between 6–8%, aligning with conditioned interior environments. This step alone separates commodity flooring from custom material built for real homes.
Step 4: Precision Milling and Tolerances
Milling transforms rough lumber into flooring profiles. This includes:
Thickness calibration
Tongue-and-groove alignment
End-matching for long runs
High-end custom floors are milled to tight tolerances (often within ±0.005 inches). Loose tolerances lead to overwood, lippage, and noisy floors post-installation. Ridgefield Industries’s manufacturing process emphasizes consistency, which directly impacts installation quality and finish performance.
Step 5: Length, Width, and Layout Intent
Unlike boxed flooring, custom hardwood allows control over board length distribution. Longer average lengths reduce seams, improve flow, and visually enlarge spaces. Board width is chosen not just for trend alignment, but for structural balance based on species hardness and subfloor conditions.
Step 6: Finishing (or Not)
Some custom floors are site-finished to allow perfect stain matching and seamless surfaces. Others are prefinished with UV-cured coatings for durability. Oil finishes, reactive stains, and custom blends can all be applied depending on the desired look and maintenance expectations.
Step 7: Installation as Final Manufacturing Step
Installation is not separate from manufacturing — it’s the final phase. Acclimation, subfloor prep, fastening method, and expansion spacing complete the process. When done correctly, the floor behaves as intended for decades.
Custom hardwood flooring isn’t about luxury — it’s about control. From log selection to final nail, every step affects how your floor looks, feels, and ages. If you’re considering a hardwood floor designed specifically for your home, visit Ridgefield Industries today. Our team serves homeowners throughout Crystal Lake, IL and invites you to experience the difference in person.


